What is Strawberry Earthquake Cake?
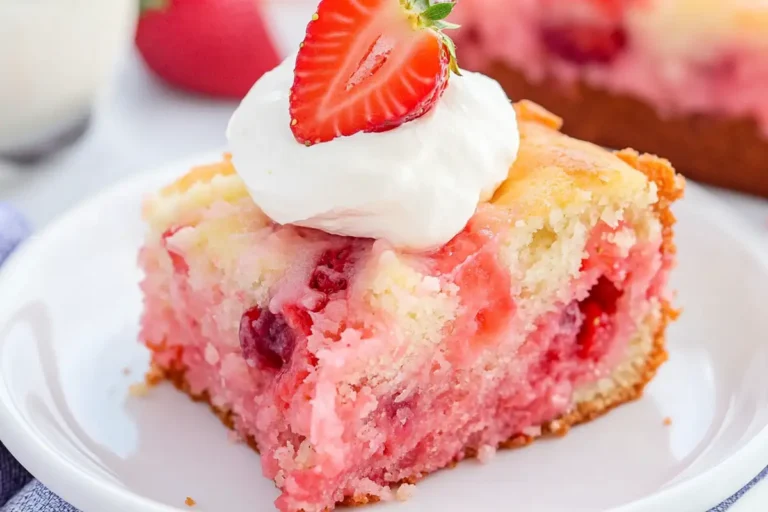
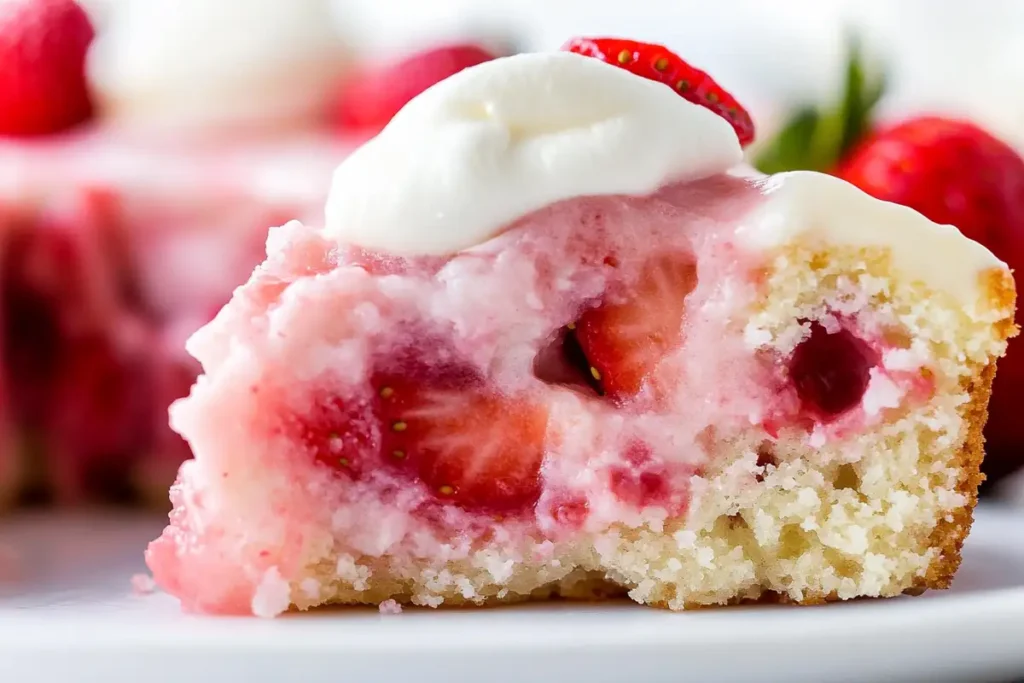
Strawberry earthquake cake, sometimes called a strawberry dump cake, is a delightful dessert known for its unique cracked, swirled appearance and incredibly moist, rich texture. The strawberry earthquake cake recipe offers an irresistible combination of flavors and textures. Imagine layers of moist cake, sweet and tangy cream cheese, juicy strawberries, and melty chocolate. It’s a truly decadent treat. What’s even better? This show-stopping dessert is surprisingly easy to make, even for beginner bakers. You’ll be amazed at the compliments you receive! While enjoying a slice of this delicious cake, you might also be interested in our pineapple cloud cake for a lighter dessert option.
Want a richer chocolate experience? Explore our fudge recipe using sweetened condensed milk! It’s the perfect pairing. If you’re looking for another simple and visually appealing dessert, you might enjoy this vintage heart cake.
A Tremor Through Time: The Origins of Earthquake Cake
The exact origin of the strawberry earthquake cake recipe, like many beloved recipes, remains somewhat shrouded in mystery. Its name likely comes from the “cracked” surface, resembling the earth after a tremor. Some believe it emerged as a variation of the dump cake, gaining popularity in the American South. Its simplicity and deliciousness contributed to its spread through church cookbooks and family gatherings. This strawberry earthquake cake recipe has certainly stood the test of time. Regardless of its exact history, earthquake cake has become a cherished dessert, enjoyed for its simple preparation and impressive presentation. It’s a true testament to the beauty of simple ingredients combined in a creative way.
Gathering Your Supplies for a Strawberry Earthquake Cake Masterpiece
Print
Strawberry Earthquake Cake Ingredients
Ingredients
- 1 box (15.25 oz) white cake mix (yellow or strawberry)
- 1 lb fresh strawberries, hulled and sliced
- 8 oz cream cheese, softened
- ½ cup granulated sugar
- 1 large egg
- 1 tsp vanilla extract
- 1 cup semi-sweet chocolate chips (milk, dark, or white chocolate)
- ½ cup pecan pieces (optional, toasted or untoasted)
Instructions
- Prepare Cake Batter: Prepare cake mix according to package directions.
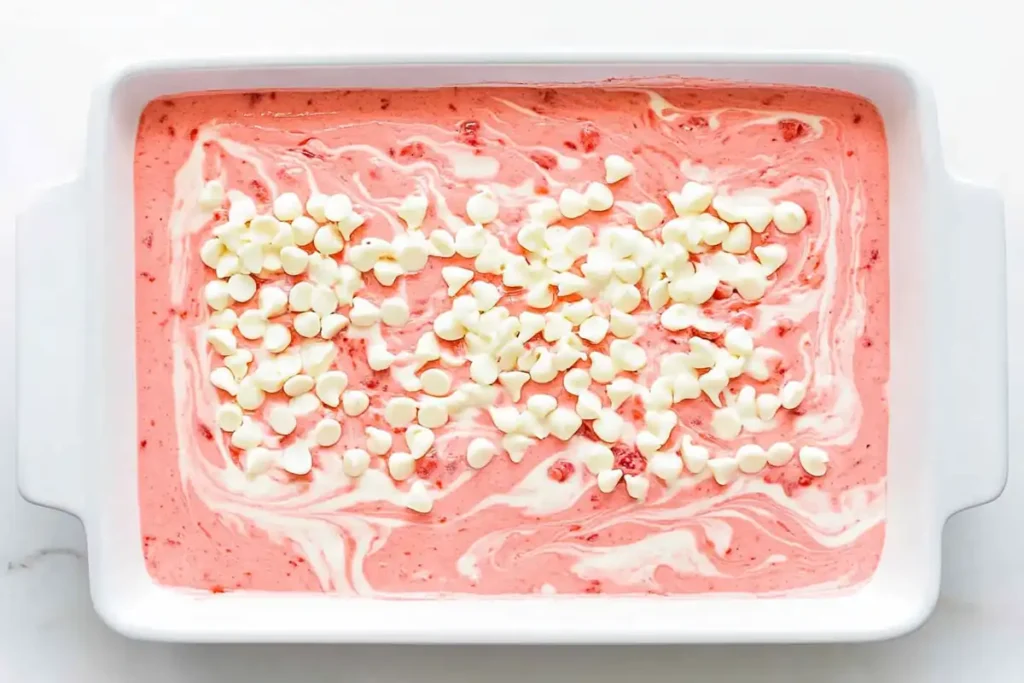
- Layer: Pour batter into a greased 9×13 inch baking dish. Evenly distribute strawberry slices over the batter. Drop spoonfuls of cream cheese mixture (cream cheese, sugar, egg, and vanilla) over the strawberries. Sprinkle with chocolate chips and pecans (if using). Do not stir.
- Bake: Bake at 350°F (175°C) for 45-50 minutes, or until a wooden skewer inserted into the center comes out clean.
- Cool & Serve: Let cool completely before cutting and serving. Serve chilled for an extra refreshing treat.
Notes
- Use room temperature ingredients for best results.
- Don’t overmix the cake batter.
- Toss strawberries in flour to prevent sogginess.
- For a thicker cake, use a 9×9 inch pan and adjust baking time.
Crafting Your Strawberry Earthquake Cake: A Step-by-Step Guide

Preparing the Cake Batter:
Prepare the cake batter according to the package directions. For this strawberry earthquake cake recipe, you’ll usually need to add water, oil, and eggs to the dry cake mix. Be careful not to overmix. Overmixing can lead to a tough cake.
Layering the Ingredients:
- Begin by pouring the prepared cake batter into a greased 9×13 inch baking dish. Ensure the batter is evenly distributed across the pan for consistent baking.
- Evenly distribute the sliced strawberries over the cake batter. Don’t be shy with the strawberries – a generous layer ensures bursts of fresh, fruity flavor in every bite. Arrange them in a single layer, ensuring they cover the batter as much as possible. This layer will sink into the batter during baking, creating delightful pockets of strawberry goodness.
- Now, for the creamy, tangy layer that makes this cake so special. Drop spoonfuls of the cream cheese mixture evenly over the strawberries. Don’t worry about spreading it perfectly; the swirling effect will happen naturally during baking. Aim for dollops roughly an inch apart, ensuring the entire surface of the strawberries is dotted with the cream cheese mixture. This creates pockets of rich cream cheese throughout the cake. The contrast between the sweet strawberries and the tangy cream cheese is what makes this cake truly irresistible.
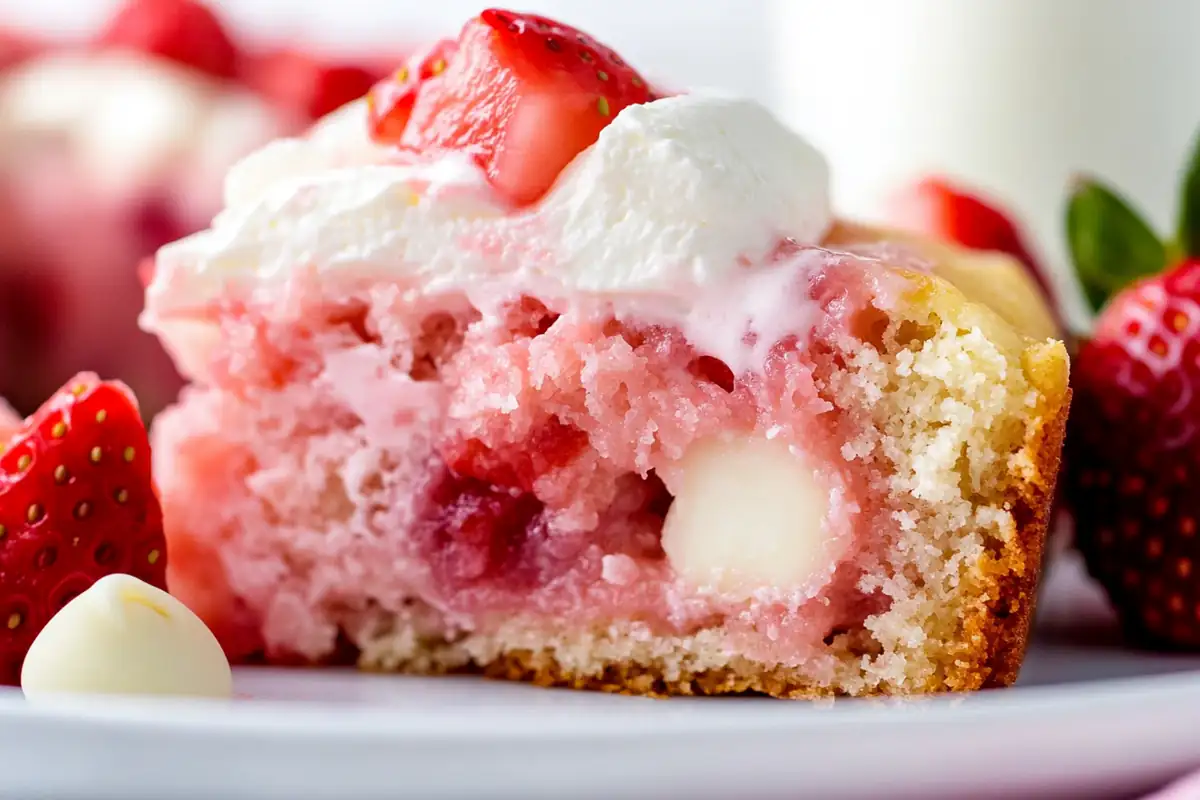
- Finally, sprinkle the chocolate chips (and pecans, if using) evenly over the cream cheese layer. The chocolate chips will melt and create pockets of gooey chocolate throughout the cake. If you’re using pecans, their nutty crunch adds another layer of texture and flavor. This final layer completes the symphony of flavors and textures that make this strawberry earthquake cake so unique and delicious. Remember, don’t mix the layers. The beauty of this cake lies in how these distinct layers interact during baking, creating that signature “earthquake” effect.
Do not stir the layers together. The magic of this strawberry earthquake cake recipe happens in the oven!
Baking the Cake:
Bake in a preheated oven at 350°F (175°C) for 45-50 minutes, or until a wooden skewer inserted into the center comes out clean. The top should be golden brown and the edges slightly pulled away from the sides of the pan.
Cooling and Serving:
Let the cake cool completely in the pan before cutting and serving. Cooling allows the cake to set properly and prevents it from crumbling when sliced. Serve chilled for an extra refreshing treat.
Elevating Your Strawberry Earthquake Cake: Tips and Tricks from the Pros
For the best strawberry earthquake cake recipe results, use room temperature ingredients. This helps ensure even mixing and baking. Avoid overmixing the cake batter, as this can result in a tough cake. When layering the ingredients, create a visually appealing swirl by gently dragging a knife or toothpick through the cream cheese and chocolate chips. If you want a thicker cake, consider using a smaller baking dish, such as a 9×9 inch pan. Adjust the baking time accordingly, checking for doneness with a wooden skewer. To prevent the cake from becoming soggy from the strawberries, you can toss them lightly in flour before adding them to the batter. This helps absorb excess moisture.
Exploring Delicious Twists on the Strawberry Earthquake Cake Recipe
Other Berry Earthquake Cakes:
Feel free to experiment with different berries in your earthquake cake! Raspberries, blueberries, and blackberries all make excellent substitutions for strawberries in this strawberry earthquake cake recipe. Each berry brings its own unique flavor profile, from the tartness of raspberries to the sweetness of blueberries. Just remember to adjust the sweetness of the cream cheese layer if using particularly tart berries.
Chocolate Variations:
Enhance the chocolate flavor by using different types of chocolate chips. Dark chocolate adds a rich intensity, while white chocolate offers a creamy sweetness. You can even add a swirl of cocoa powder to the cake batter for an extra chocolate boost. Consider trying our Strawberry Cheesecake Dump Cake for another delicious strawberry and cake combination.
Tropical Earthquake Cake:
Give your earthquake cake a tropical twist by using fruits like pineapple, mango, or coconut. These fruits pair wonderfully with the cream cheese and chocolate. If using canned fruits, be sure to drain them well to prevent excess moisture in the cake.
Serving and Storing Your Strawberry Earthquake Cake
Serve your strawberry earthquake cake with a dollop of whipped cream, a scoop of vanilla ice cream, or a sprinkle of fresh berries. The cool creaminess complements the warm cake beautifully. Store leftover cake in an airtight container in the refrigerator for up to 3 days. For longer storage, freeze the cake for up to 2 months.

Frequently Asked Questions about Strawberry Earthquake Cake
Can you add fresh fruit to box cake mix?
Yes, fresh fruit elevates cake mix! Be mindful of moisture content; berries are juicier than apples or bananas. Toss fruit in a tablespoon or two of flour to absorb excess moisture and prevent a soggy cake. For very juicy fruits, slightly reduce the liquid in the cake mix instructions. Experiment and enjoy!
Where did strawberry cake originate?
Strawberry cake’s history stretches back centuries, with possible roots in ancient Rome where strawberries were combined with seasonal ingredients. Evolving through the Middle Ages and Renaissance, it became a springtime celebration dessert. The 18th and 19th centuries brought refined techniques and ingredients, resulting in the lighter, fluffier, and more elaborate strawberry cake we enjoy today.
How to use strawberries on cake?
Strawberries offer a versatile ingredient for cake decoration and flavor enhancement. Freshly sliced strawberries arranged artfully on top of a frosted cake provide a classic and elegant presentation. Beyond simple slicing, you can explore numerous other ways to incorporate strawberries. Strawberry purees can be swirled into cake batter or used as a filling between layers, adding a burst of concentrated flavor. Strawberry jams offer a convenient way to introduce sweetness and a touch of tartness to cake fillings or frostings. For a truly decadent touch, create a luscious strawberry glaze to drizzle over the top of your cake, adding a vibrant sheen and intense flavor. The possibilities are limited only by your imagination!
Can you put sliced strawberries in between cake layers?
Layering fresh strawberries between cake layers can cause sogginess. To prevent this, create a barrier. Whipped cream or frosting acts as a shield, preventing moisture from seeping into the cake. Use evenly sliced, not-too-thick strawberries for even layering and to minimize excess moisture. Enjoy the fresh strawberry flavor without a soggy cake!
A Final Word on the Strawberry Earthquake Cake
The strawberry earthquake cake recipe is a true testament to the power of simplicity. With just a few basic ingredients and easy steps, you can create a dessert that is both impressive and delicious. So, gather your ingredients, preheat your oven, and get ready to experience the delightful decadence of strawberry earthquake cake! Let us know in the comments below how your cake turned out!

